Solar panel installation teams offer much more value even if homeowners in Littleton, CO think that their products and services are over-the-top. Some believe that roofing installations only require simple logic and tools for effective installations. However, we believe it takes more based on our experience.
Installation teams specializing in solar panels have had decades of experience installing panels on dozens of properties. Therefore, they have advanced techniques and strategies upon installing solar panels on various roof materials, shapes and sizes. On the other hand, an average Littleton, CO homeowner has a bit to zero experience installing solar roofs, making professionals essential for roofing installations.
Professionals can advise you about possible waste materials during your installation. Therefore, they can recommend the best amount of panels possible. Waste material determination is helpful in reducing unusable or extra panels that still cost time and money.
With our experience installing Littleton, CO solar panels, we can recommend the best solutions to reduce the installation time and costs you'll spend for installing adequate roofing materials.
If you'd like to read through the trouble of installing solar panels, DIY Network has an excellent step-by-step process with guaranteed varying difficulty. Read more about it here.
Bury conduit from the house or building that will receive the power to the area where the solar panel array will be located.
With the conduit in place, build a platform consisting of concrete pillars and 4x4s that will support the solar array.
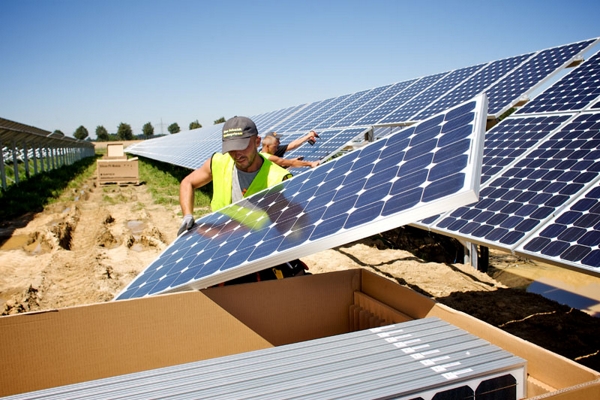
Mount the Panels
Once the platform is finished, the experts are ready to get started. For the solar array, the team uses eight 24-volt 110-watt PV panels that have been pre-fastened to create the array. For the upstairs loft, four 12-volt, 255-amp sealed batteries will store power collected by the panels. And finally, a 5500-watt power inverter and 40-amp charge controller will be installed in the garage near the standard electrical box. This expandable system should produce 35,000 watt hours per month -- enough to power a deep well water pump, interior lights and a few appliances.
Moving on, the team mounts the panels to the platform. Angle brackets are used at the mounting points, and the front feet are mounted first. The feet are squared and centered before being secured into place.
Secure the Rear Legs
Use meteorological data to determine the proper angle for the array, then elevate and secure the rear legs.
Wire the Solar Modules
Wire the solar modules together and join them at a junction connector or fuse combiner box. The modules should be stripped and wired in pairs before being connected to the fuse box mounted at the platform and connected to underground conduit output cables.
Note: When performing any electrical work, remember to take all safety precautions. Because of the danger involved, intricate electrical work is often best left to professionals.
In the terminal box, the stripped wires must be connected properly. In this instance, the red wires are connected to the positive terminal, and the black wires to the negative terminal. Once connected, the wires are fed up through the bottom of the junction box and connected to the corresponding positive and negative terminal blocks. (Continued)
Roper Roofing and Solar have long-term experience installing top-notch solar panel installations for all your needs. Contact us today to learn more about everything that we can do for you.
